

Prescaling Azure Application Gateway Instances with Azure Automation for Peak Traffic


Introduction
Although the Azure Application Gateway offers the possibility to autoscale its instances and, therefore its capability to handle increasing traffic, it can sometimes be quite practical to ramp up the number of instances for known situations where high traffic occurs. Usually, the autoscaling of the Application Gateway is more than sufficient, the additional instances warm up within 6-7 minutes, according to Microsoft, and can then accept the incoming web traffic. However, there can also be situations, such as special events or peak times like the black Friday opening or similar, where the autoscaling can still be insufficient and too slow. For these known situations, you can increase the minimal instances in advance and do this via schedule and the following script to reduce outages.
But why don’t you always run the application gateway instances at max?
Because it’s expensive.
In the following blog post, I will use the Azure Portal to go through the steps to use Azure Automation to update the minimum and maximum instances of an Azure Application Gateway via Azure Automation. To be honest, when experienced, it’s a bit faster and easier via Azure CLI or Powershell, but I want to document the needed permissions and steps for everyone. I’ll cover the setup of the creation of a user-assigned managed Identity and the Azure Automation Account and also the implementation of the PowerShell script.
1. Create User-Assigned Managed Identity
At first, we’ll need to create the User-Assigned Managed Identity, which is now the recommended authentication method for Azure Runbooks. The old RunAs Accounts will be depleted in September 2023.
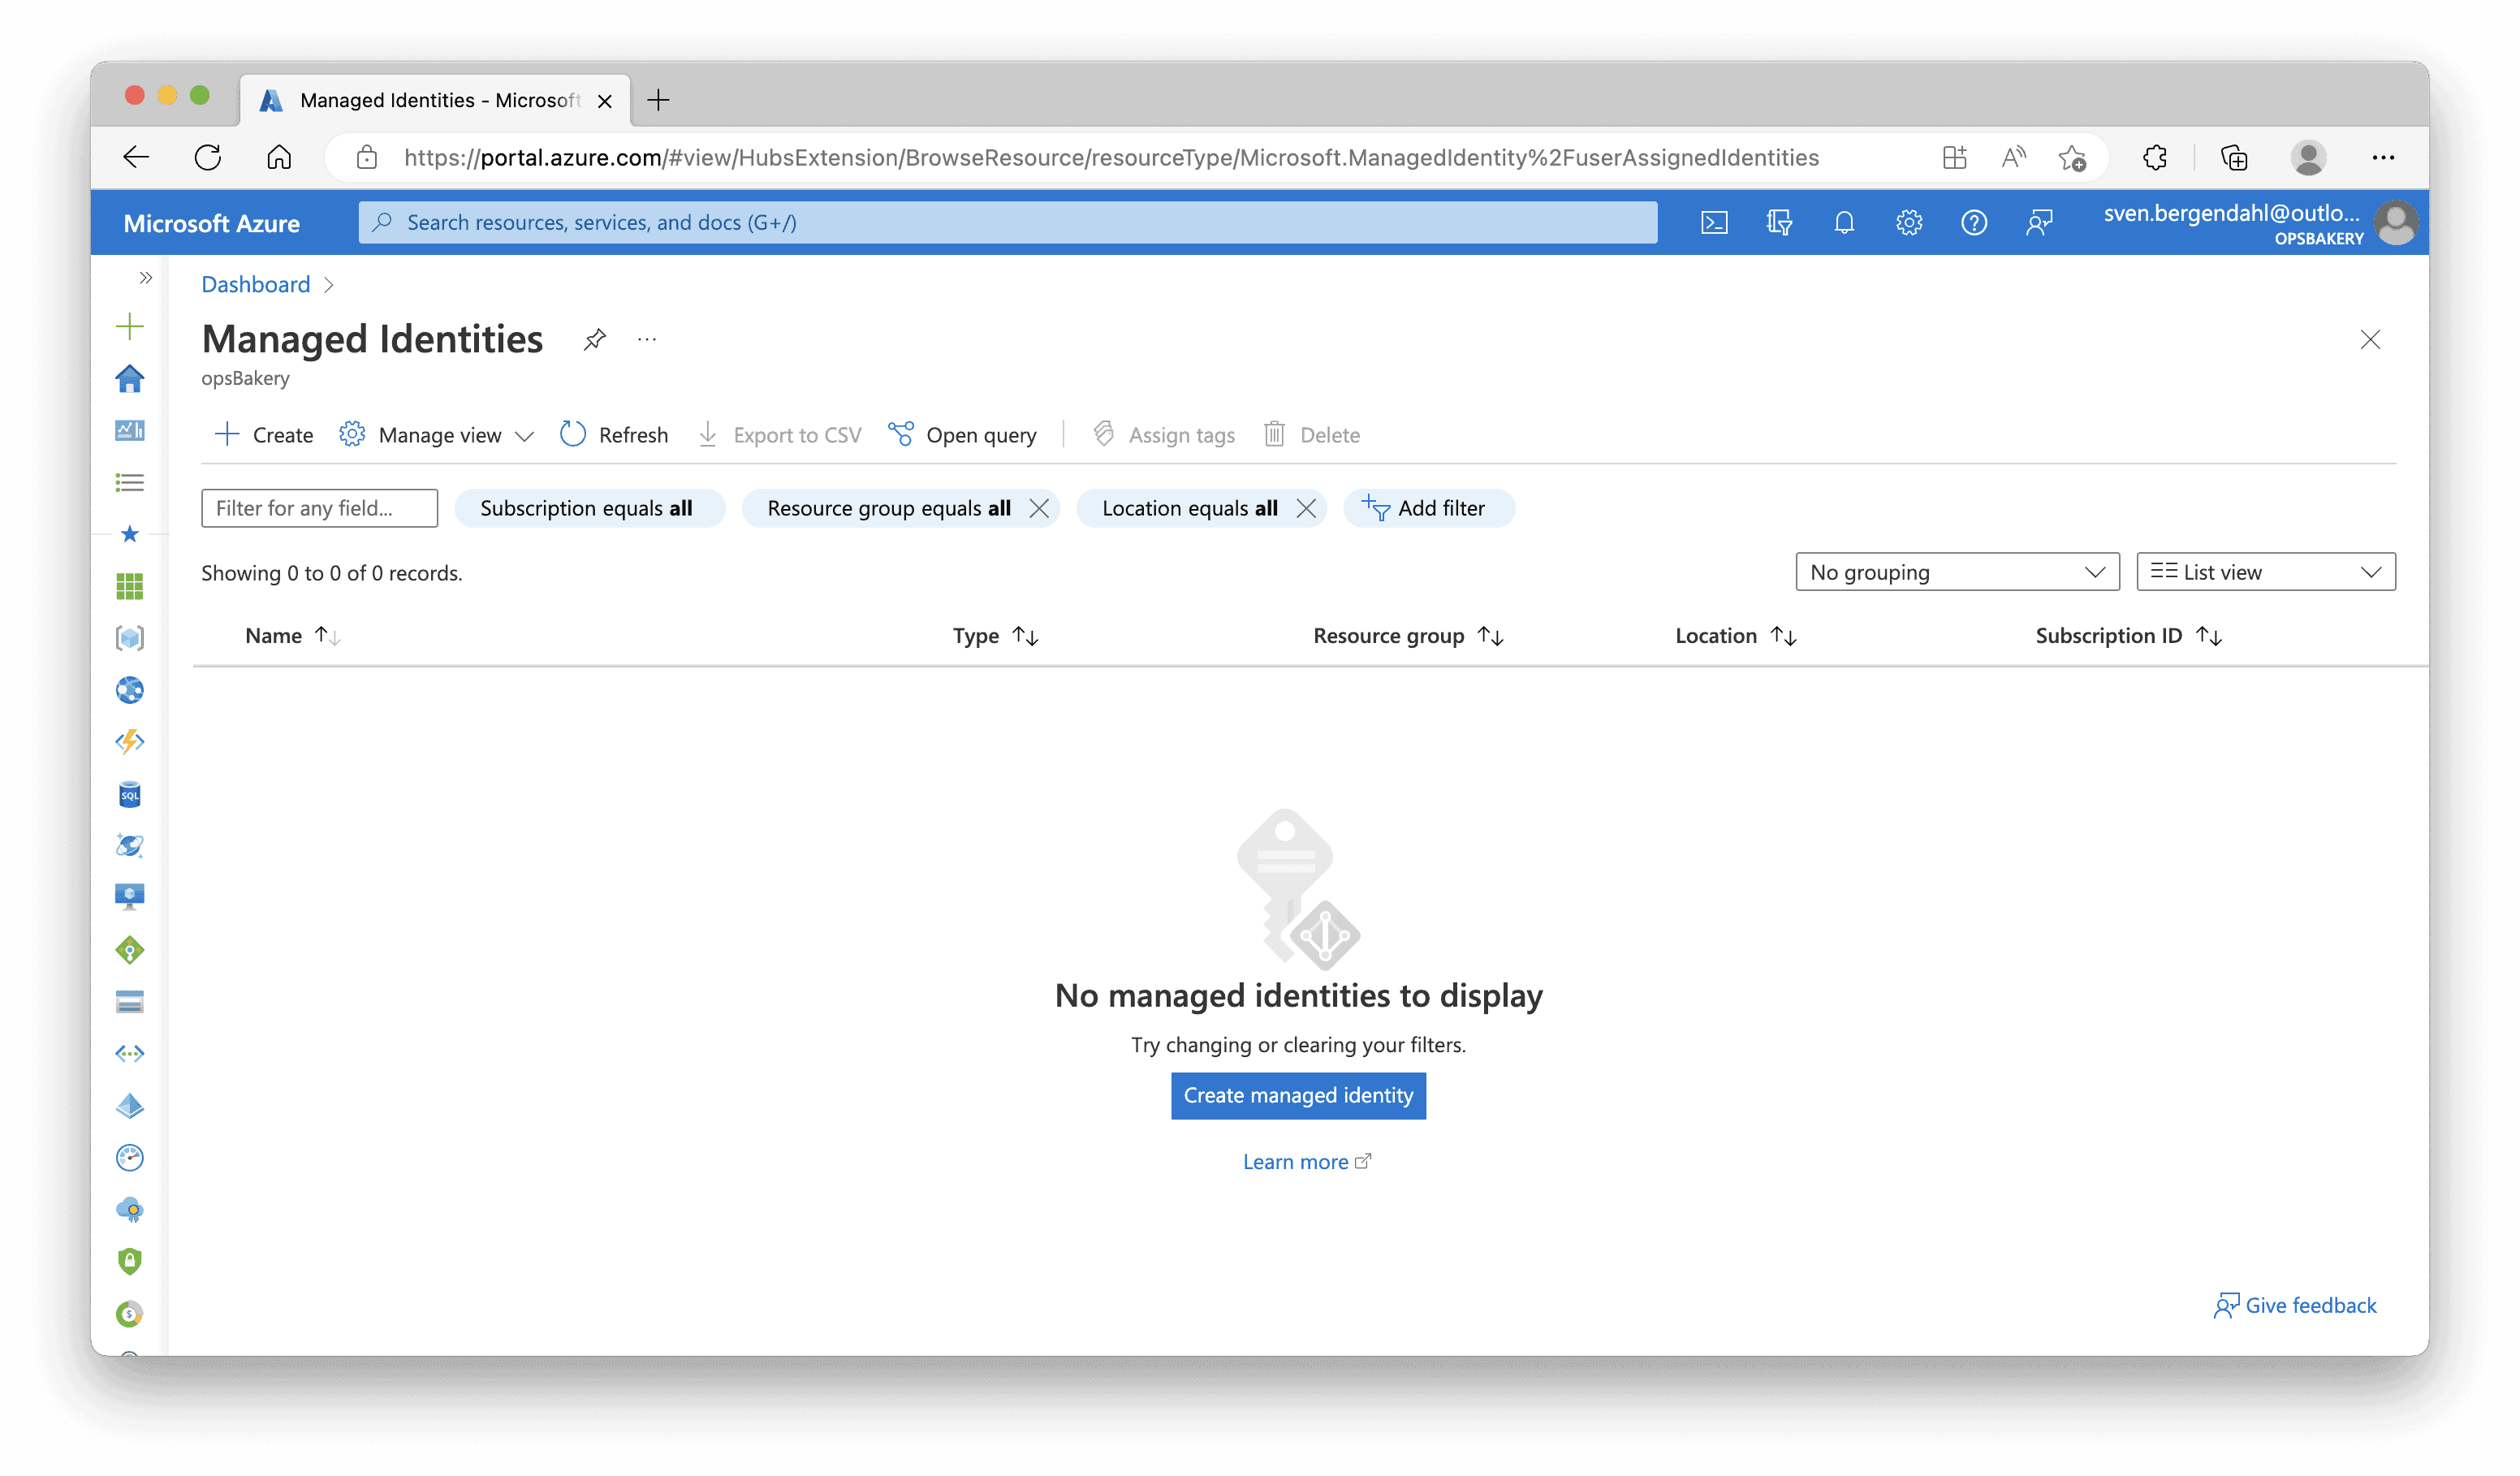
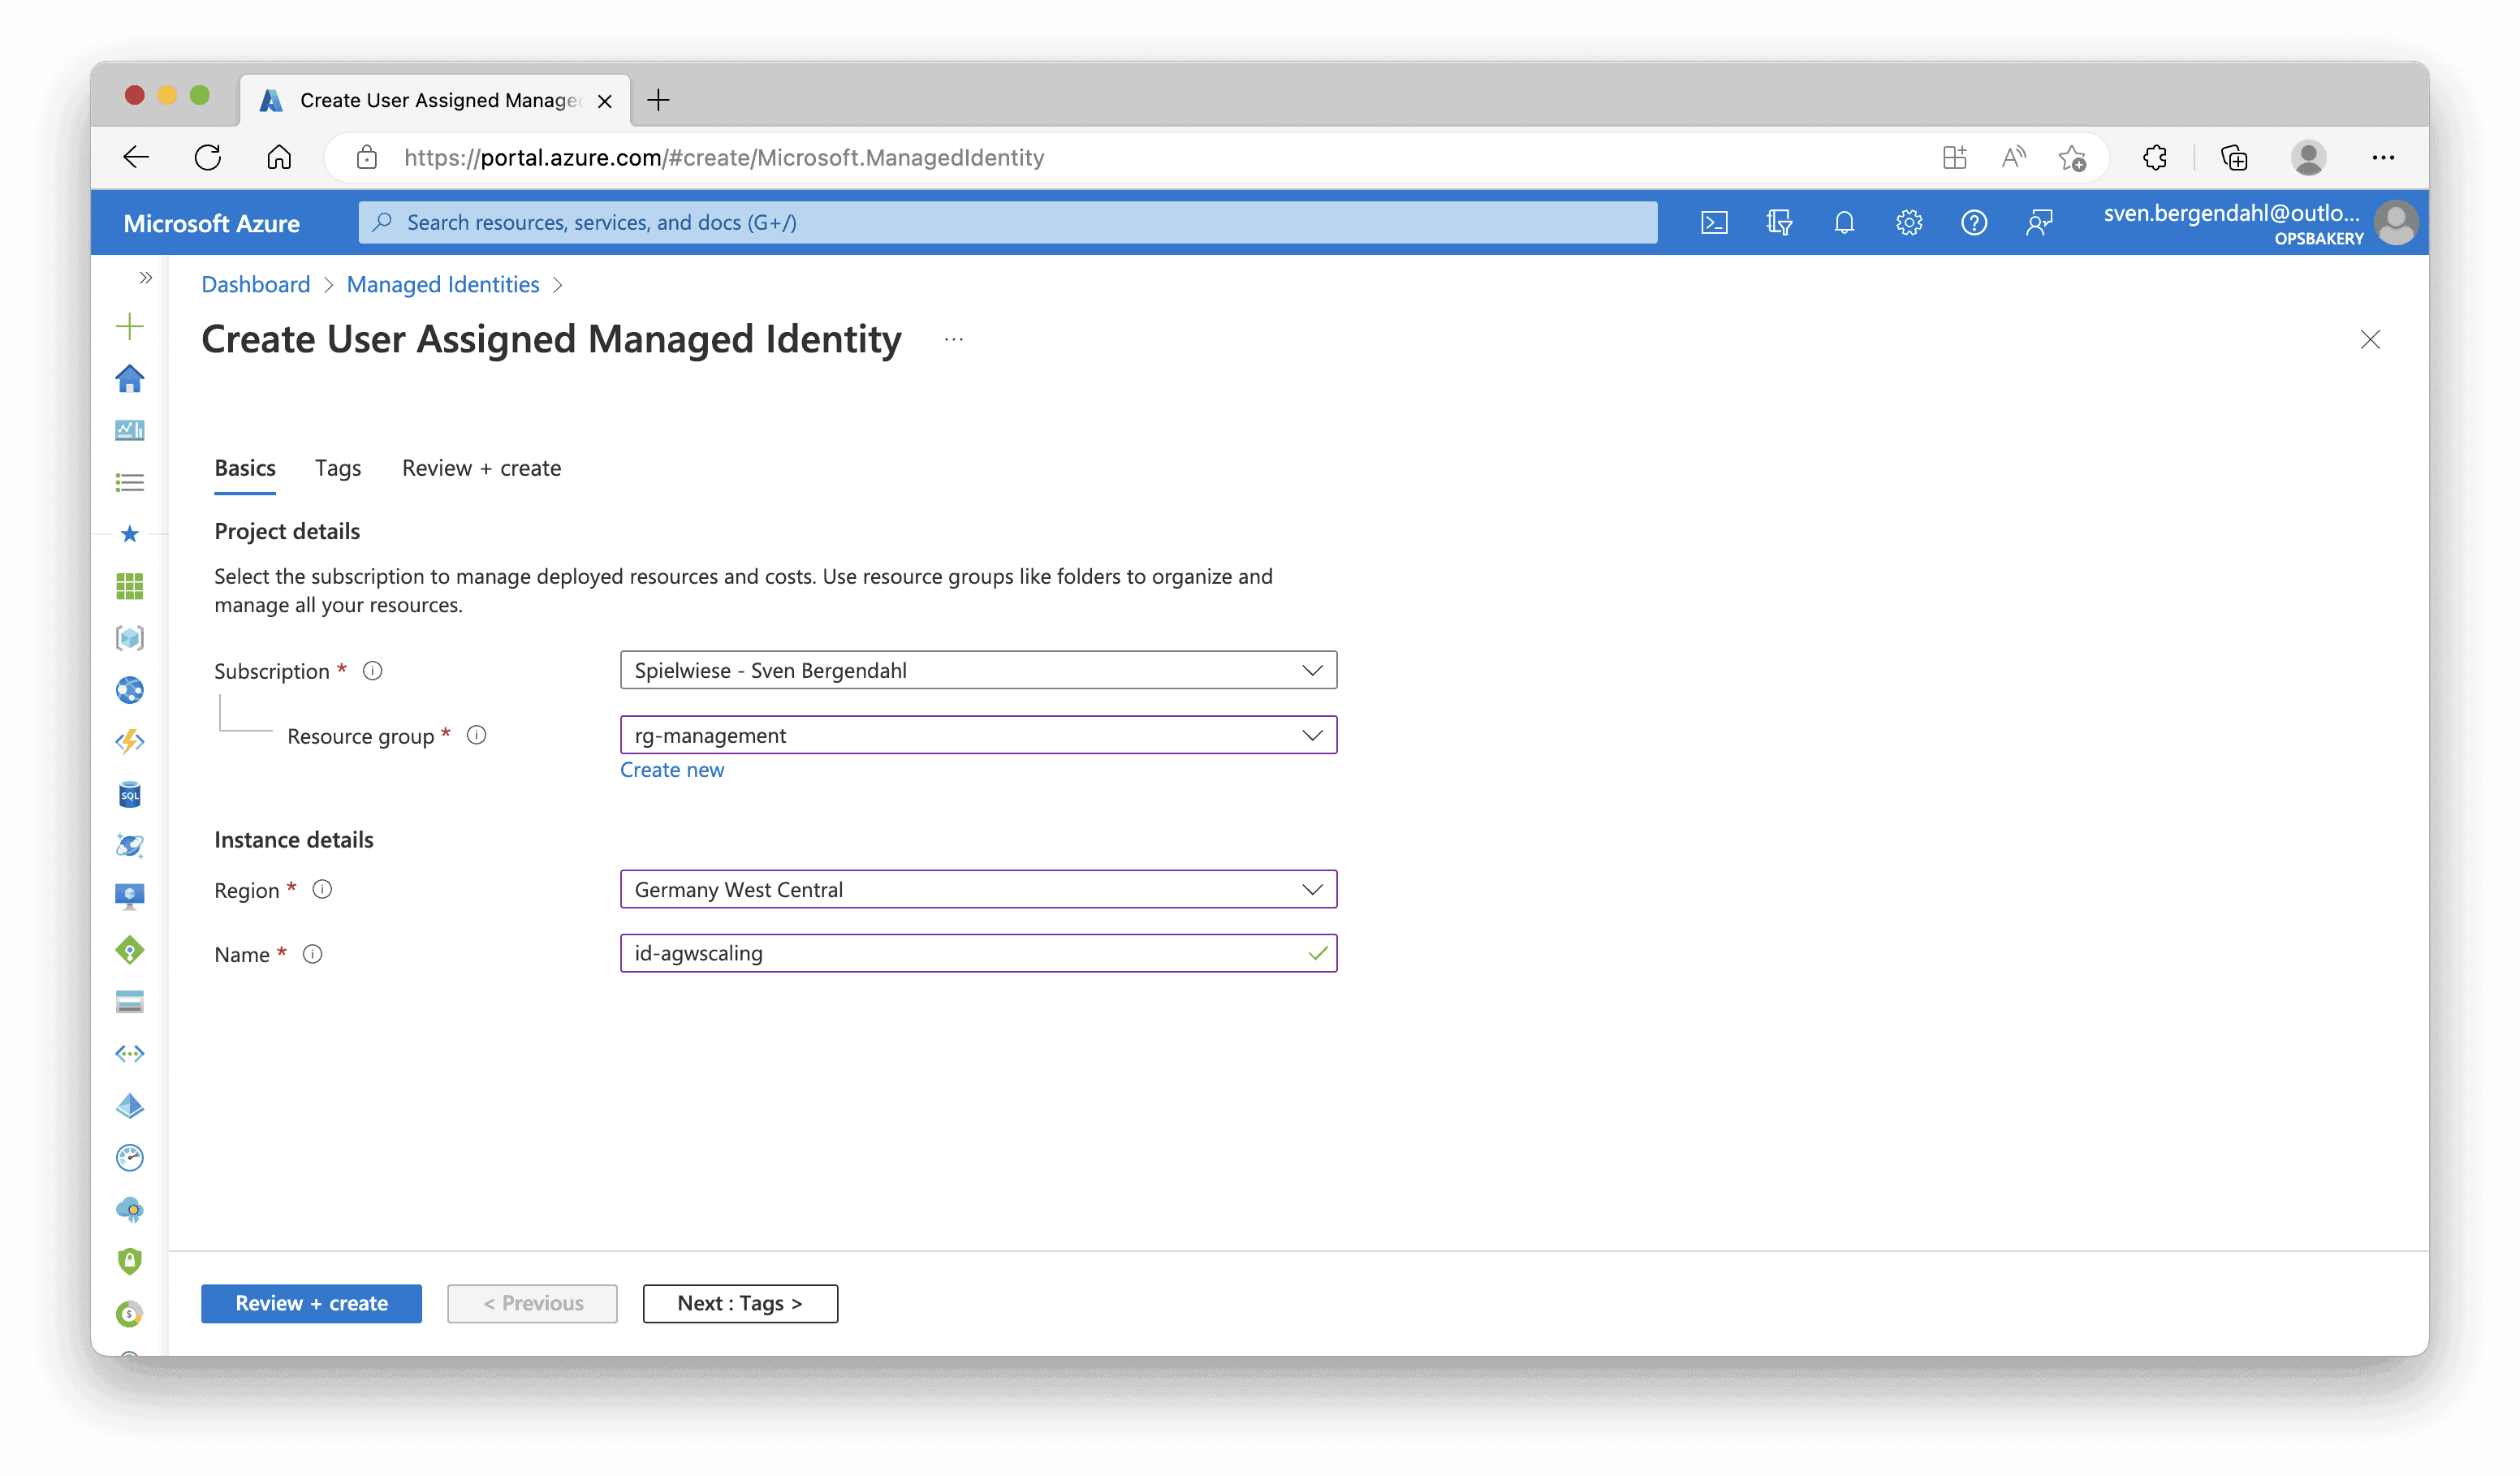
In the Azure Portal, navigate to the “Managed Identities“, there we click “+ Create” to create the User-Assigned Managed Identity. In my case, I made the Identity “id-agwscaling” into my existing Management Resource Group “rg-management” and put it in my nearest location: Germany West Central.
After “Review + create” it could take some time until the Managed Identity is shown after the creation in the Azure Portal.
Now our User-Assigned Managed Identity needs the roles of the Contributor Role at the Azure Application Gateway Resource to scale the Application Gateway. When you’re using an Identity to store the certificates in the Azure Key Vault, the Identity also needs the Managed Identity Operator at the Application Gateway Resource. Currently, you can only set this via Azure CLI. In the following case, we don’t have a Key Vault.
In the Azure Portal, navigate to your Application Gateway, the Access control (IAM) Tab, then click “+ Add” and select “Add role assignment” from the top pane.
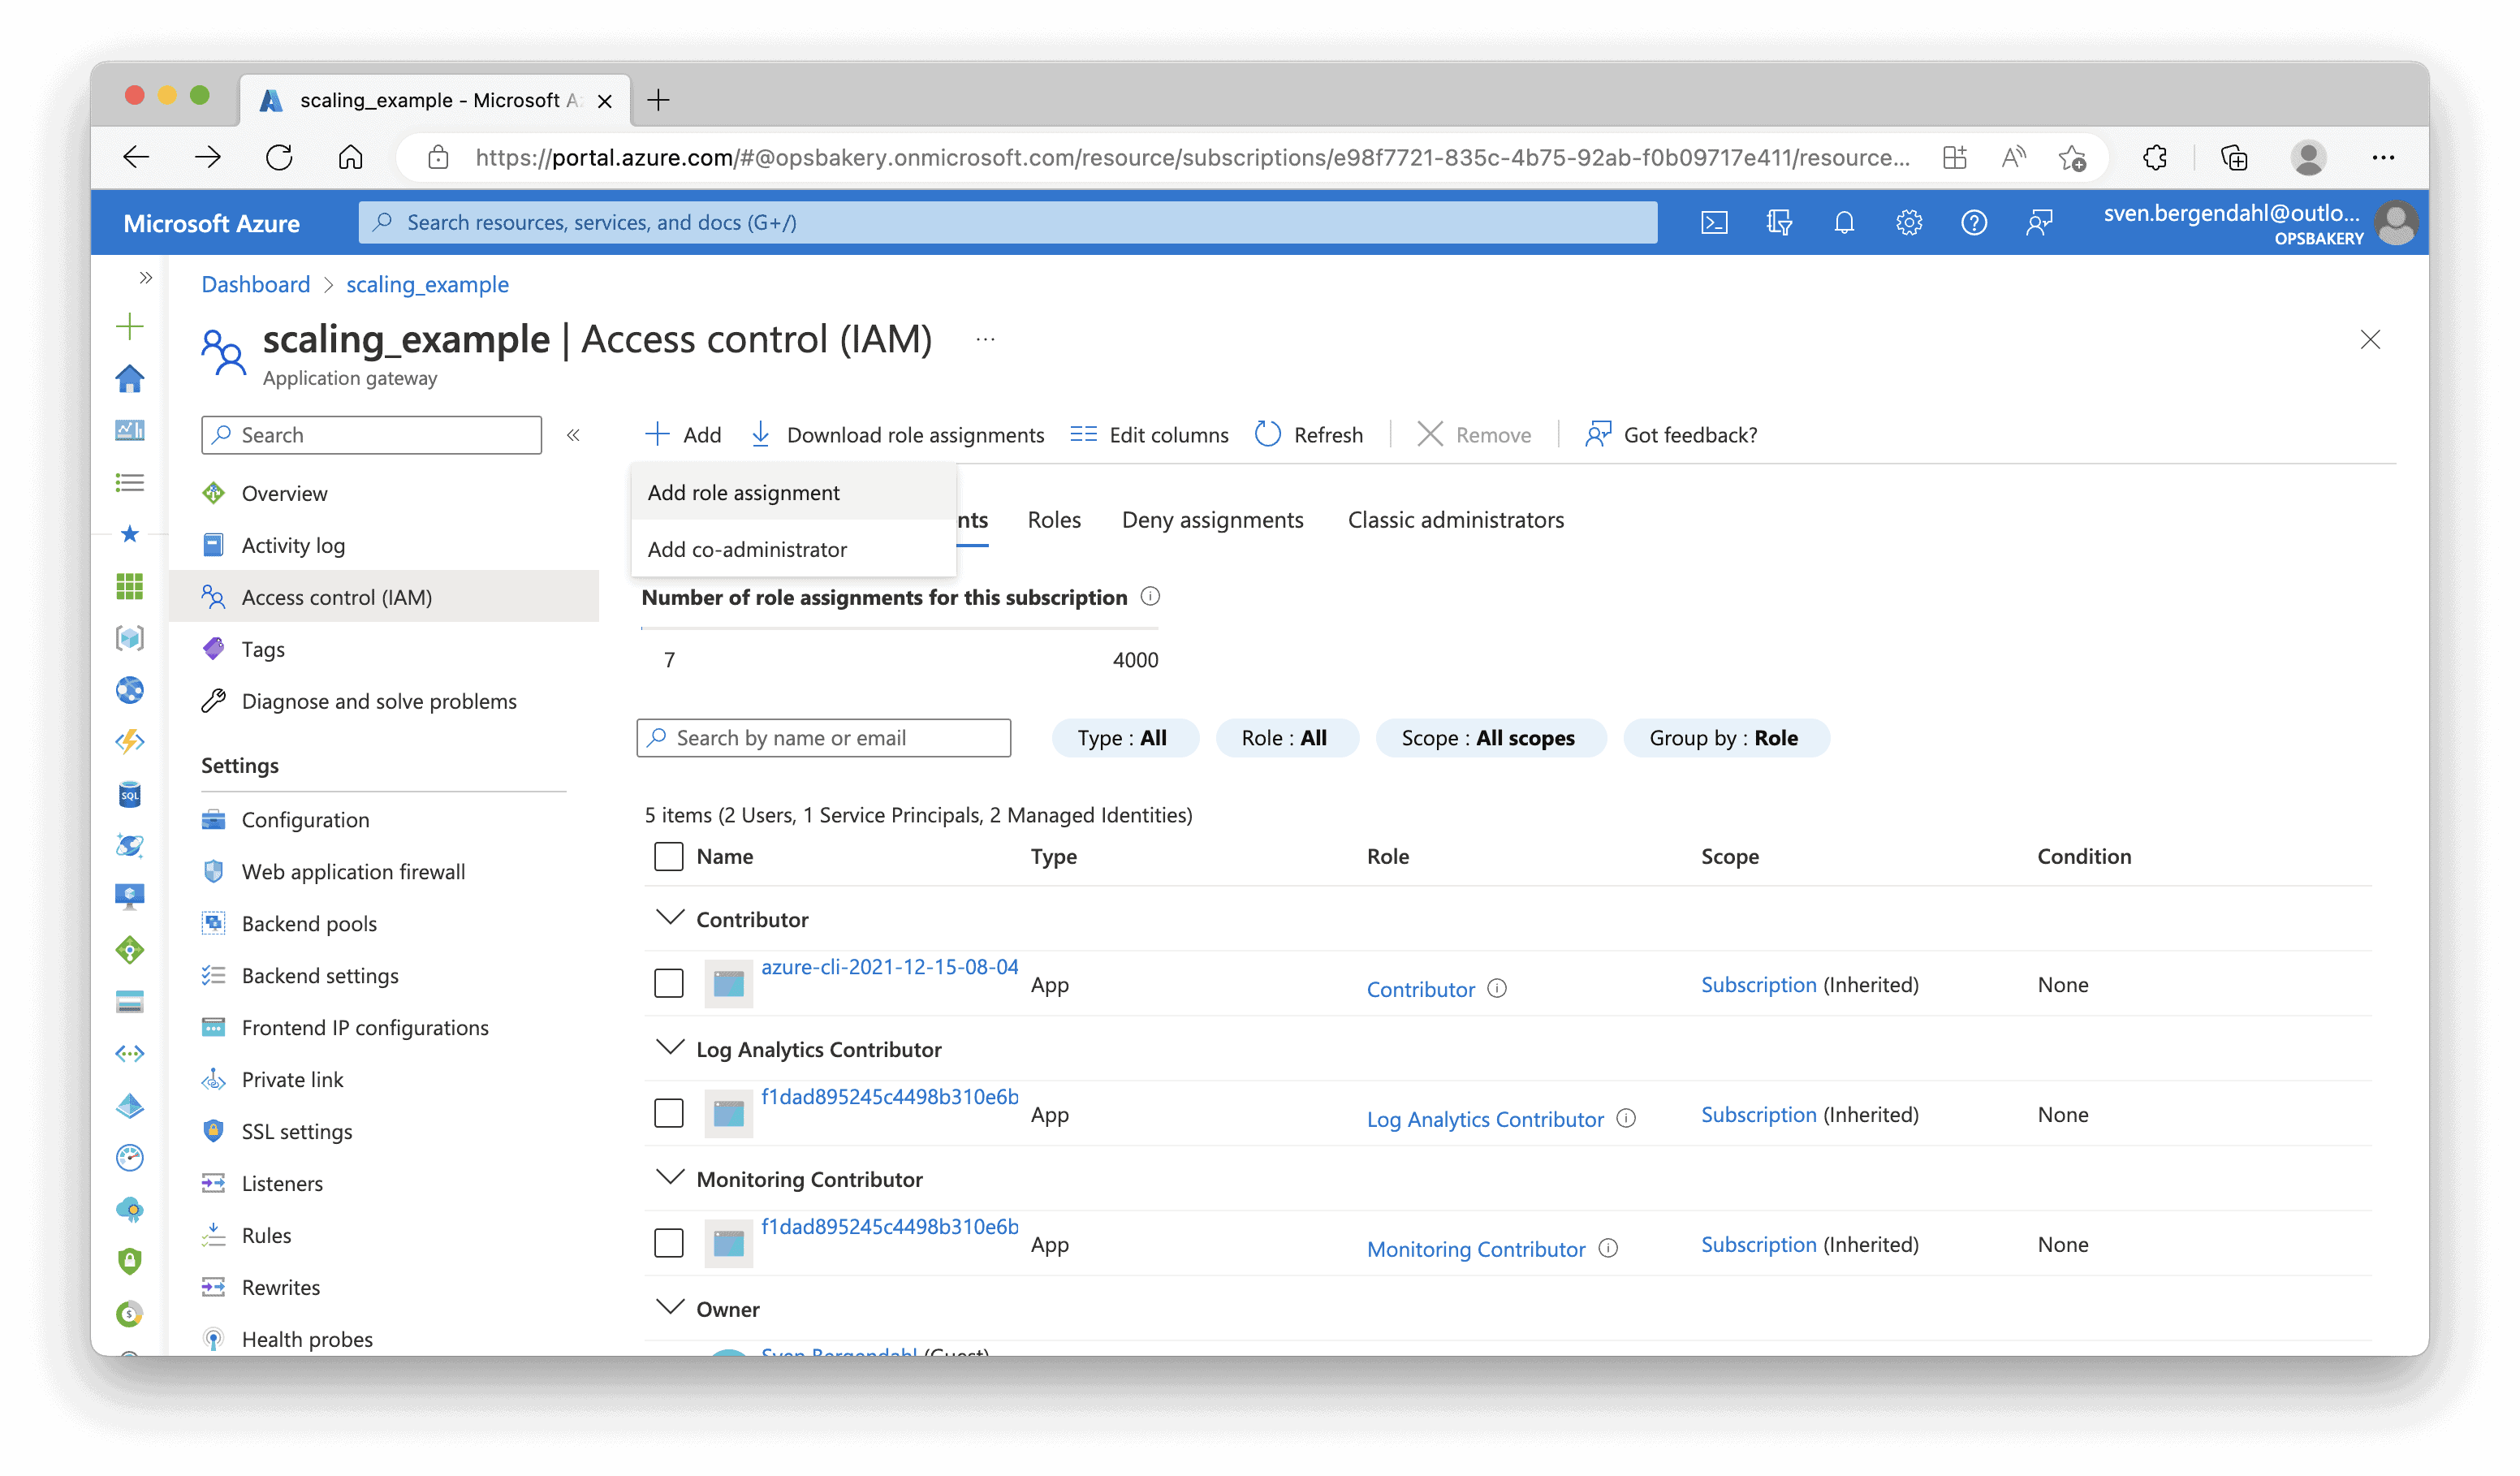
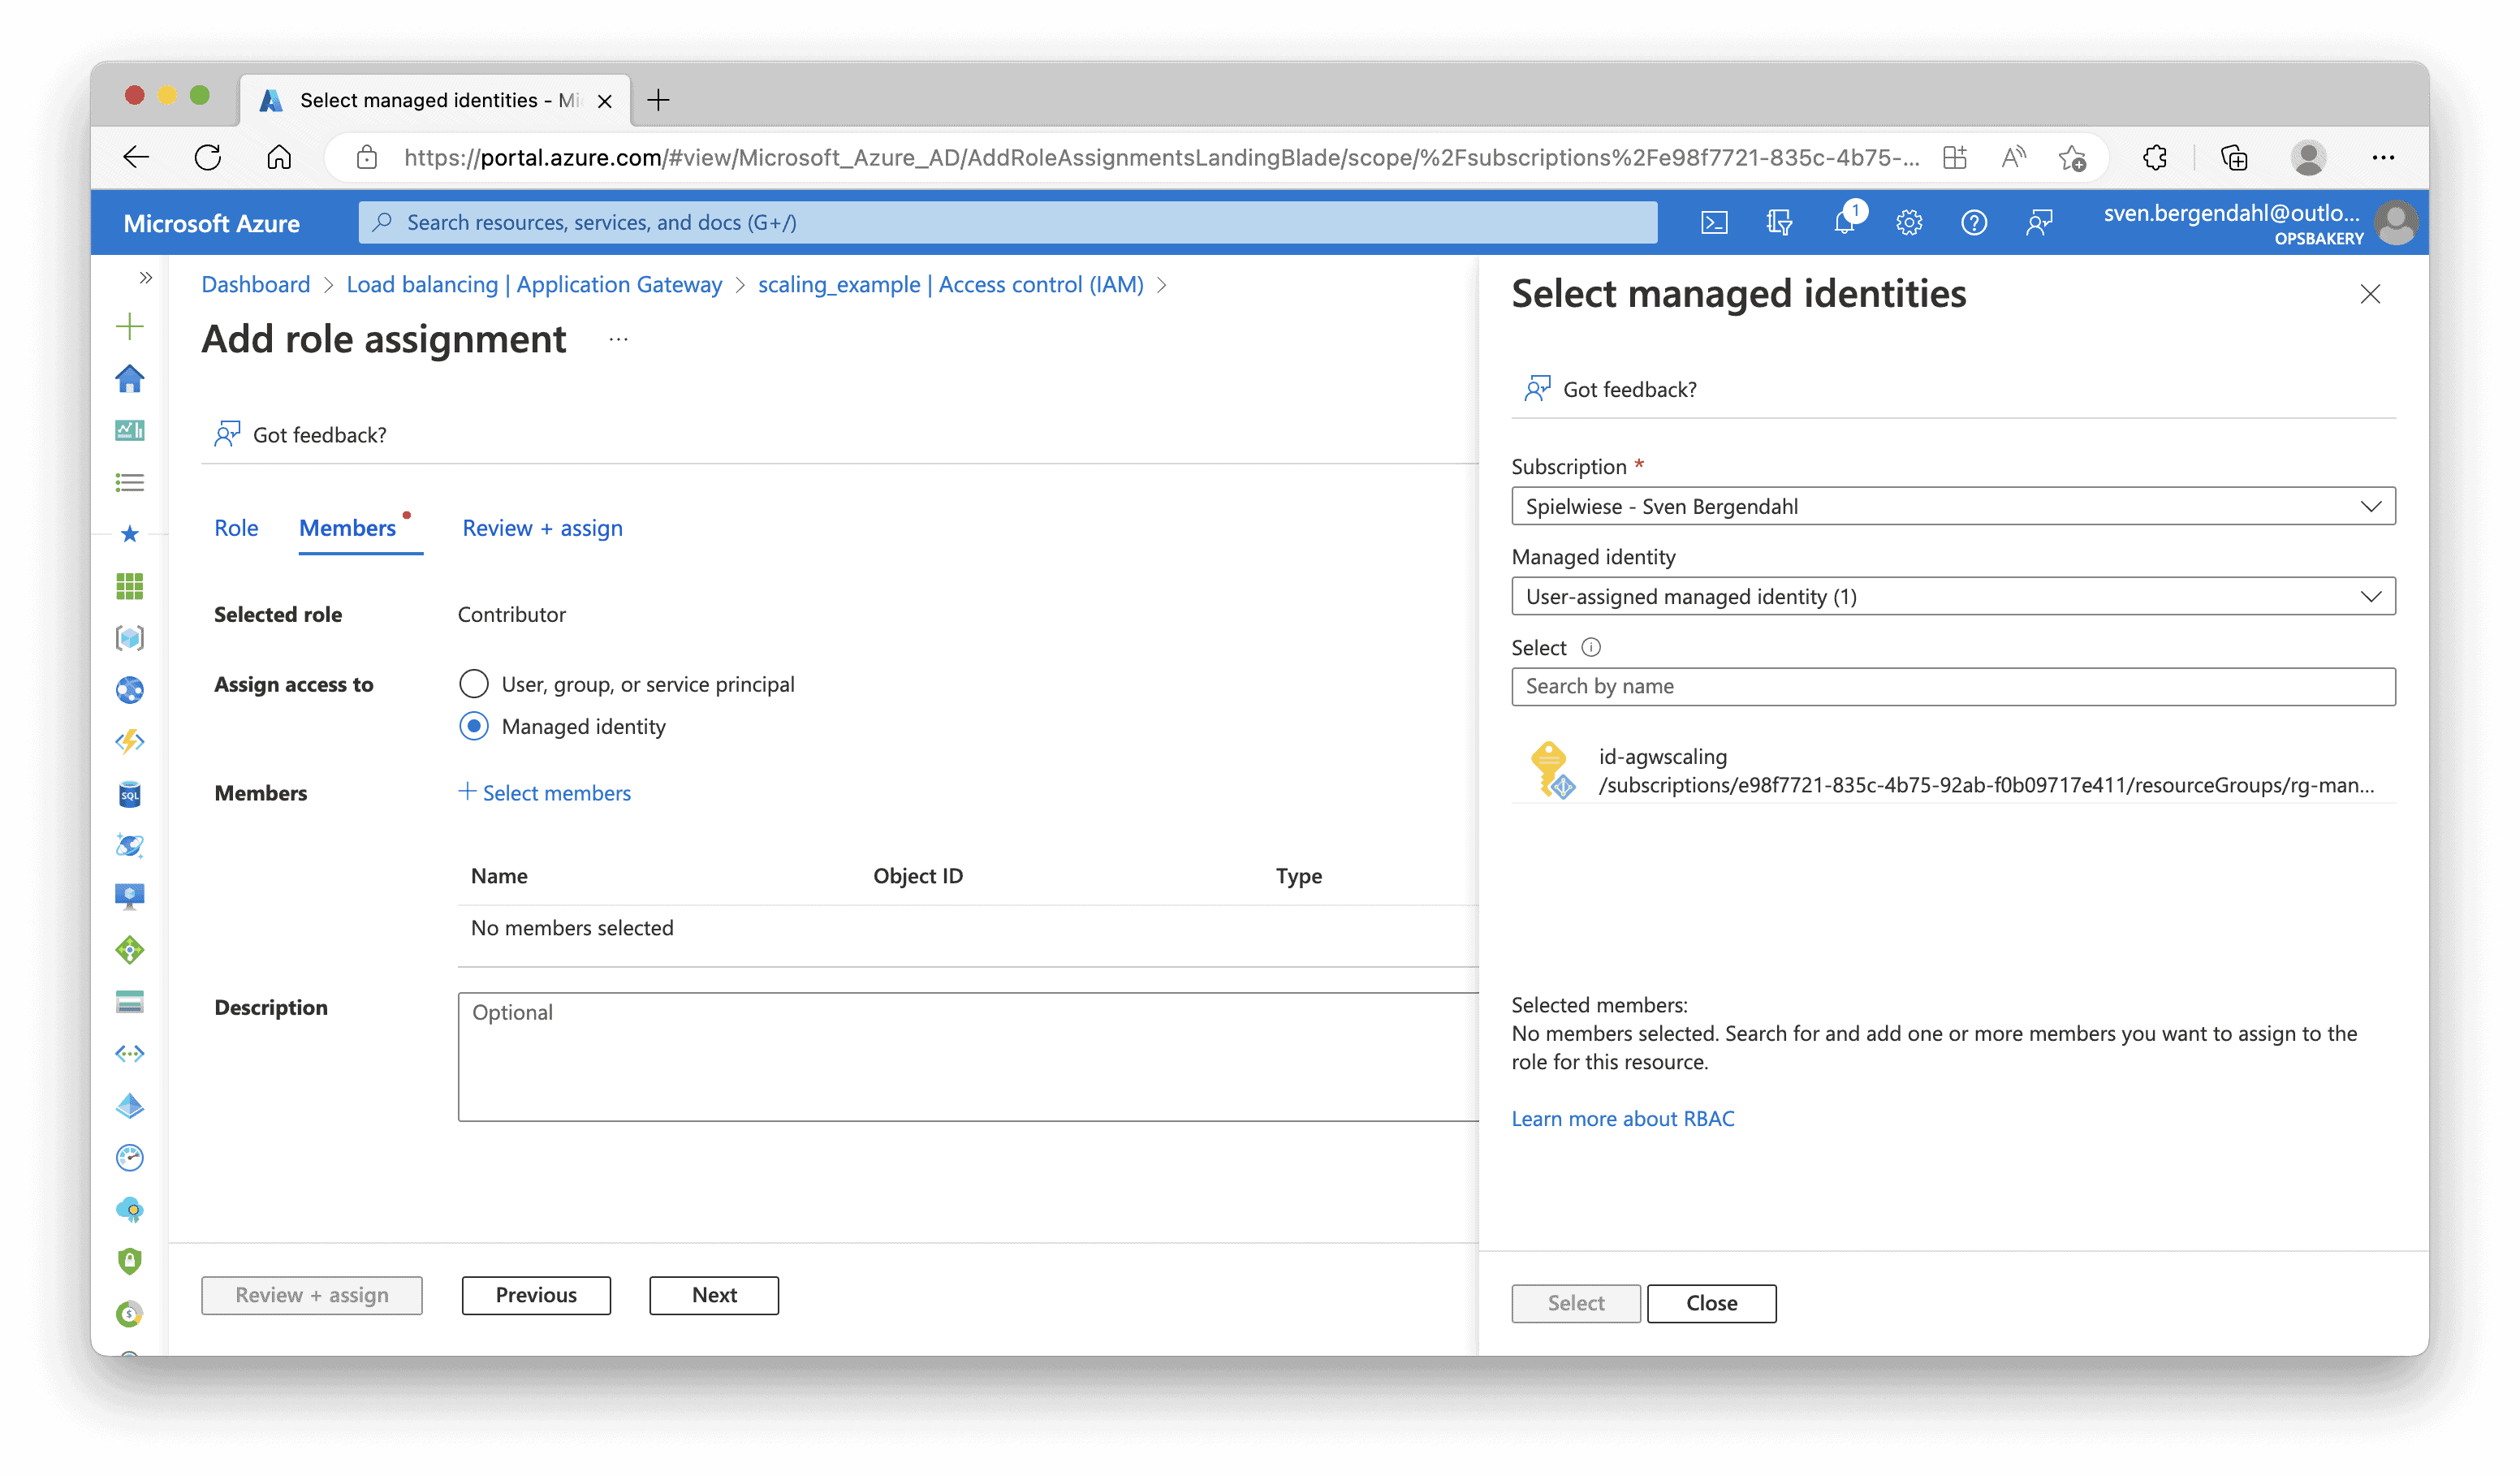
Our User Assigned Identity is now a Contributor at the Application Gateway.
2. Create Azure Automation Account & Assign the User-Assigned Managed Identity
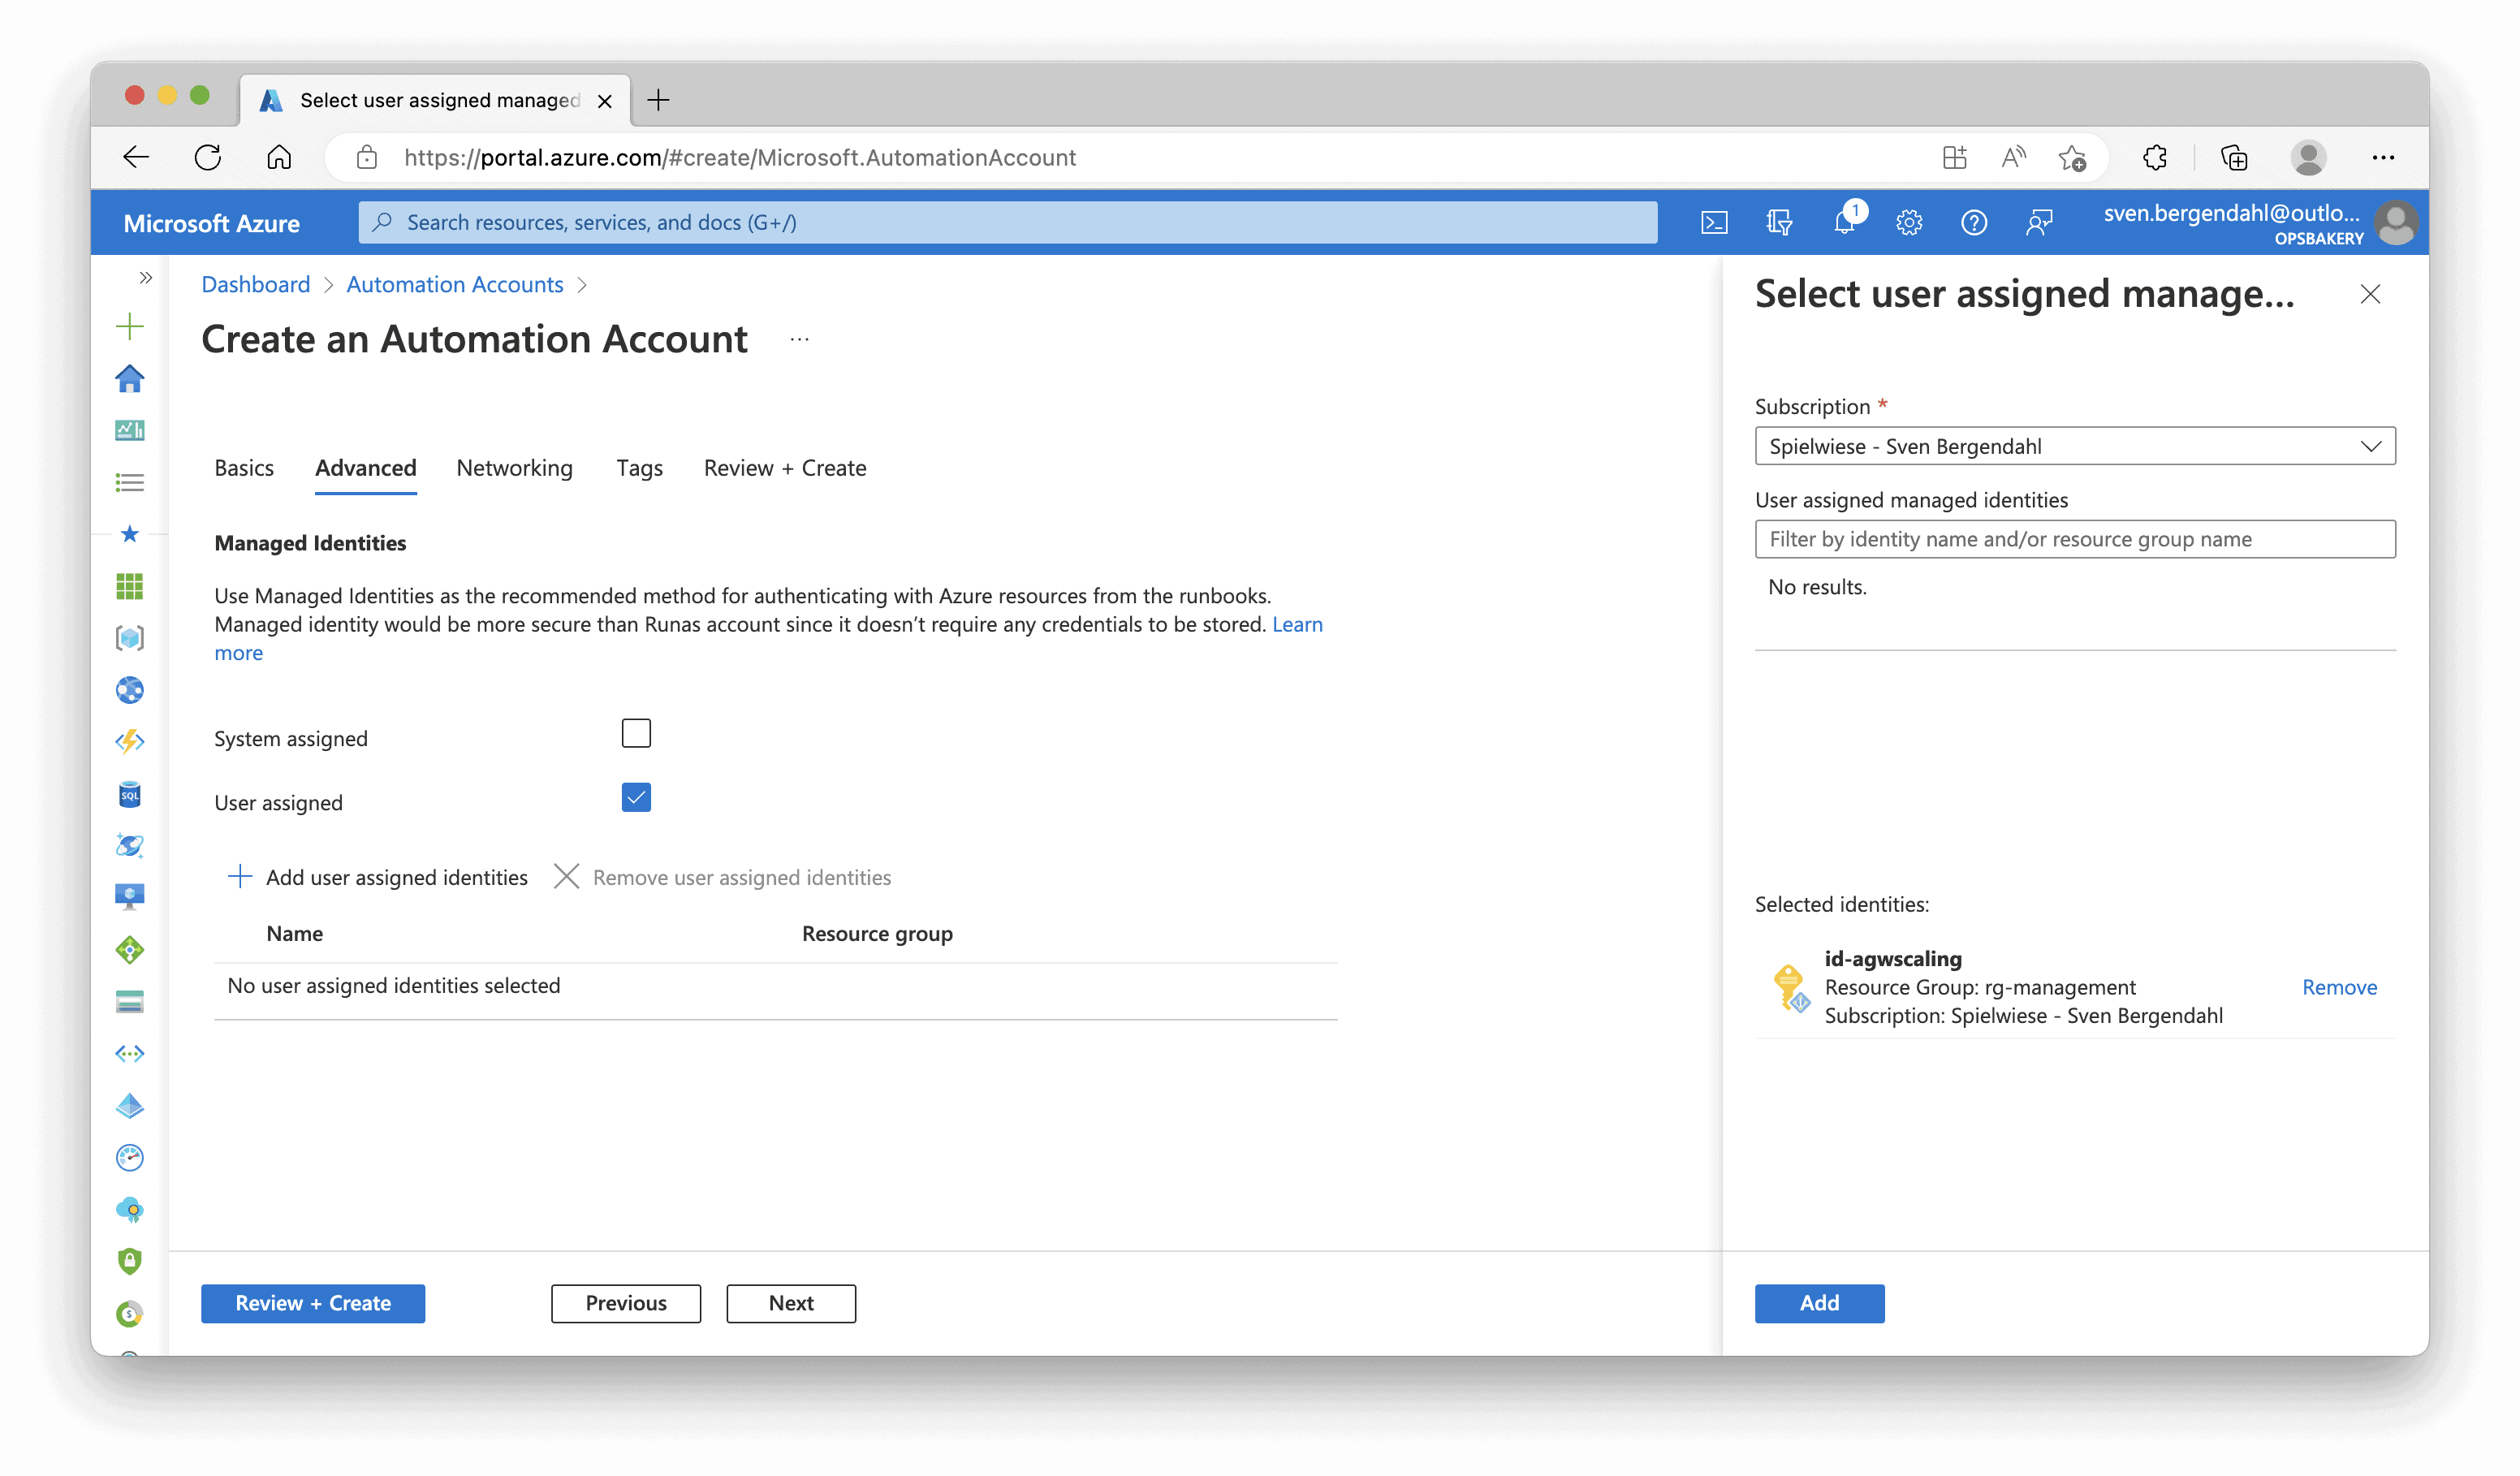
Now let’s create the Automation Account. In the Azure Portal, we’re searching for “Automation Accounts“, select “Automation Accounts” from the search result and hit “+ Create“. Fill in the required Information like Name, Resource Group, and Region, and click “Next“. In the “Advanced” Tab, you can uncheck the “System assigned” Identity and check the “User assigned” Identity. Select your previously created User-Assigend Identity from the Dropdown Menu and add your Identity to the Automation Account. Click “Review + Create” on the button on the page, and then “Create“.
The Deployment of the Automation Account takes a while. You can wait until the creation is done and click “Go to resource“, or search again for the Automation Account in the Search Panel.
3. Implement the PowerShell Script for Scaling
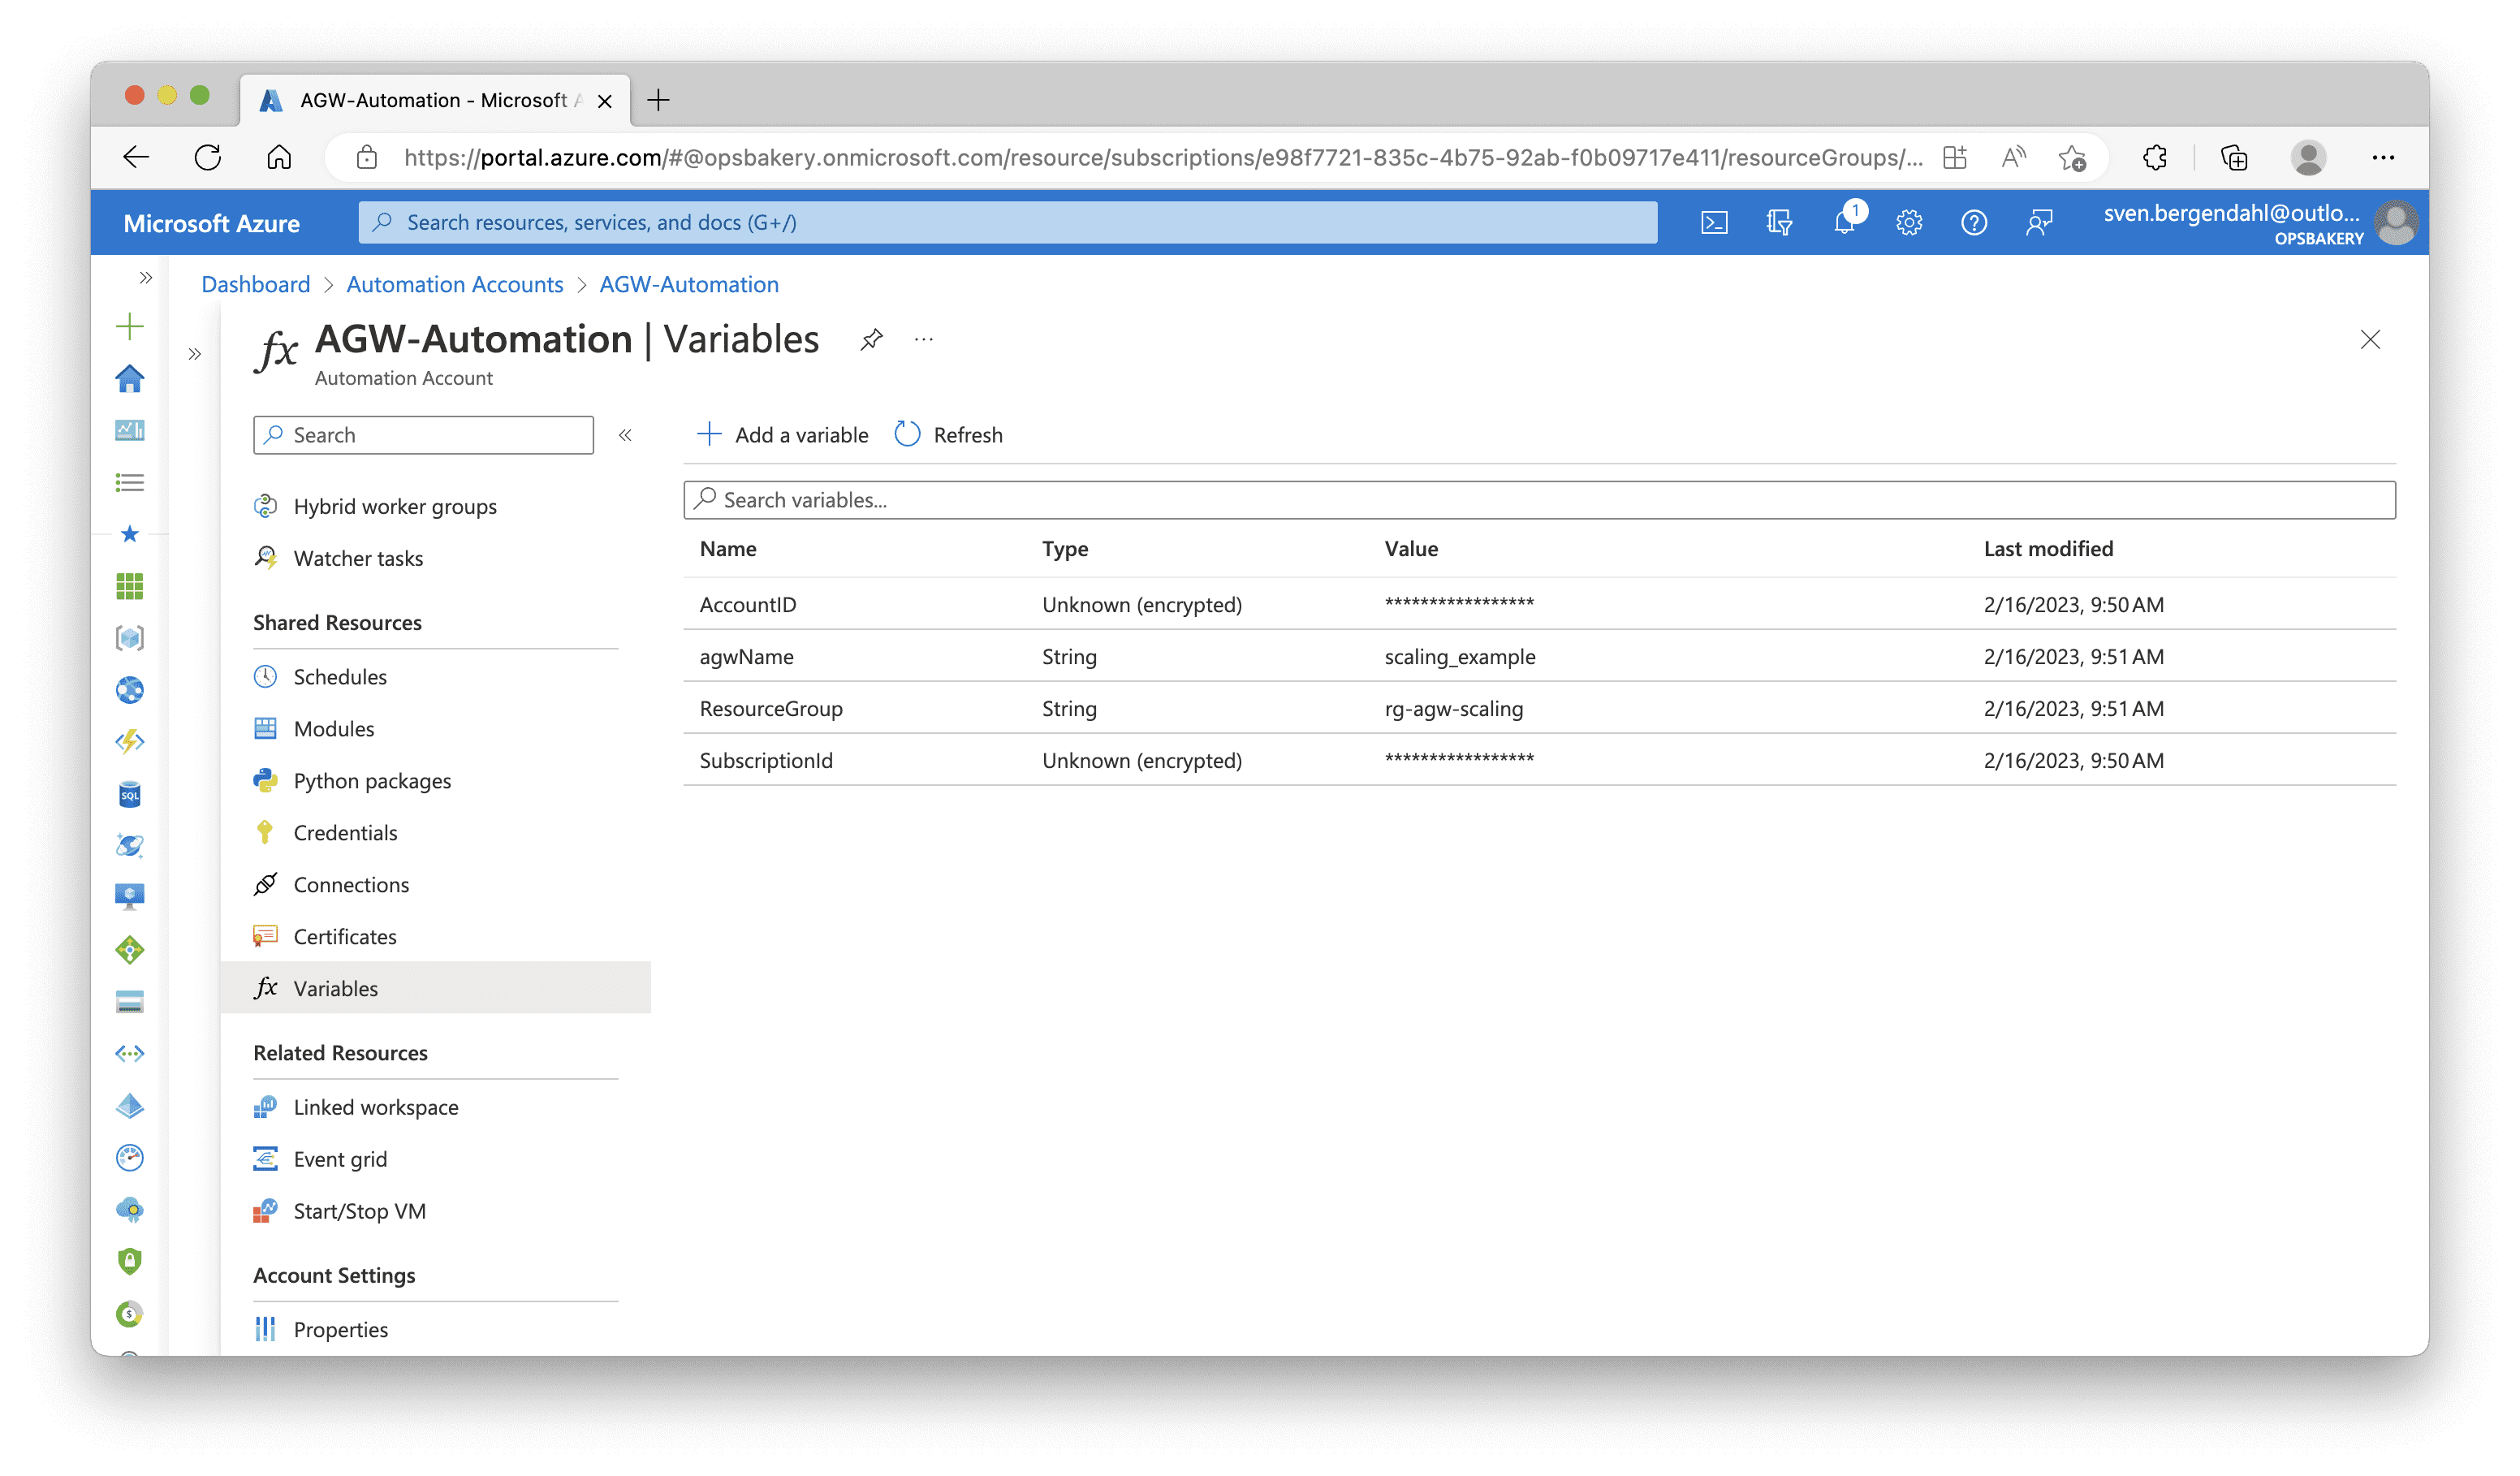
Navigate to the new Automation Account, at first, we need to implement the variables set in the script. In the Automation Account, navigate to “Shared Resources“, then “Variables“. Here you need to add the four following variables. Fill in the matching Values, Resource Group, and so on into the Value Field. I encrypted my Subscription ID and Identity in this example.
SubscriptionId, String, [Value]                         # Your Subscription ID
AGW_Name, String, [Value]                               # Your Application Gateway Name
AGW_Resource_Group, String, [Value]                     # Resource Group name where Application Gateway resides
User_Assigned_Identity_id-agwscaling, String, [Value]   # Client ID of your User assigend Identity
To create the Runbooks, search for the “Process Automation” Tab in the menu, and click “Runbooks“. Select “Create a Runbook” and fill in the required pieces of information like Name, Runbook Type must be PowerShell and Runtime Version 5.1, and a meaningful description.
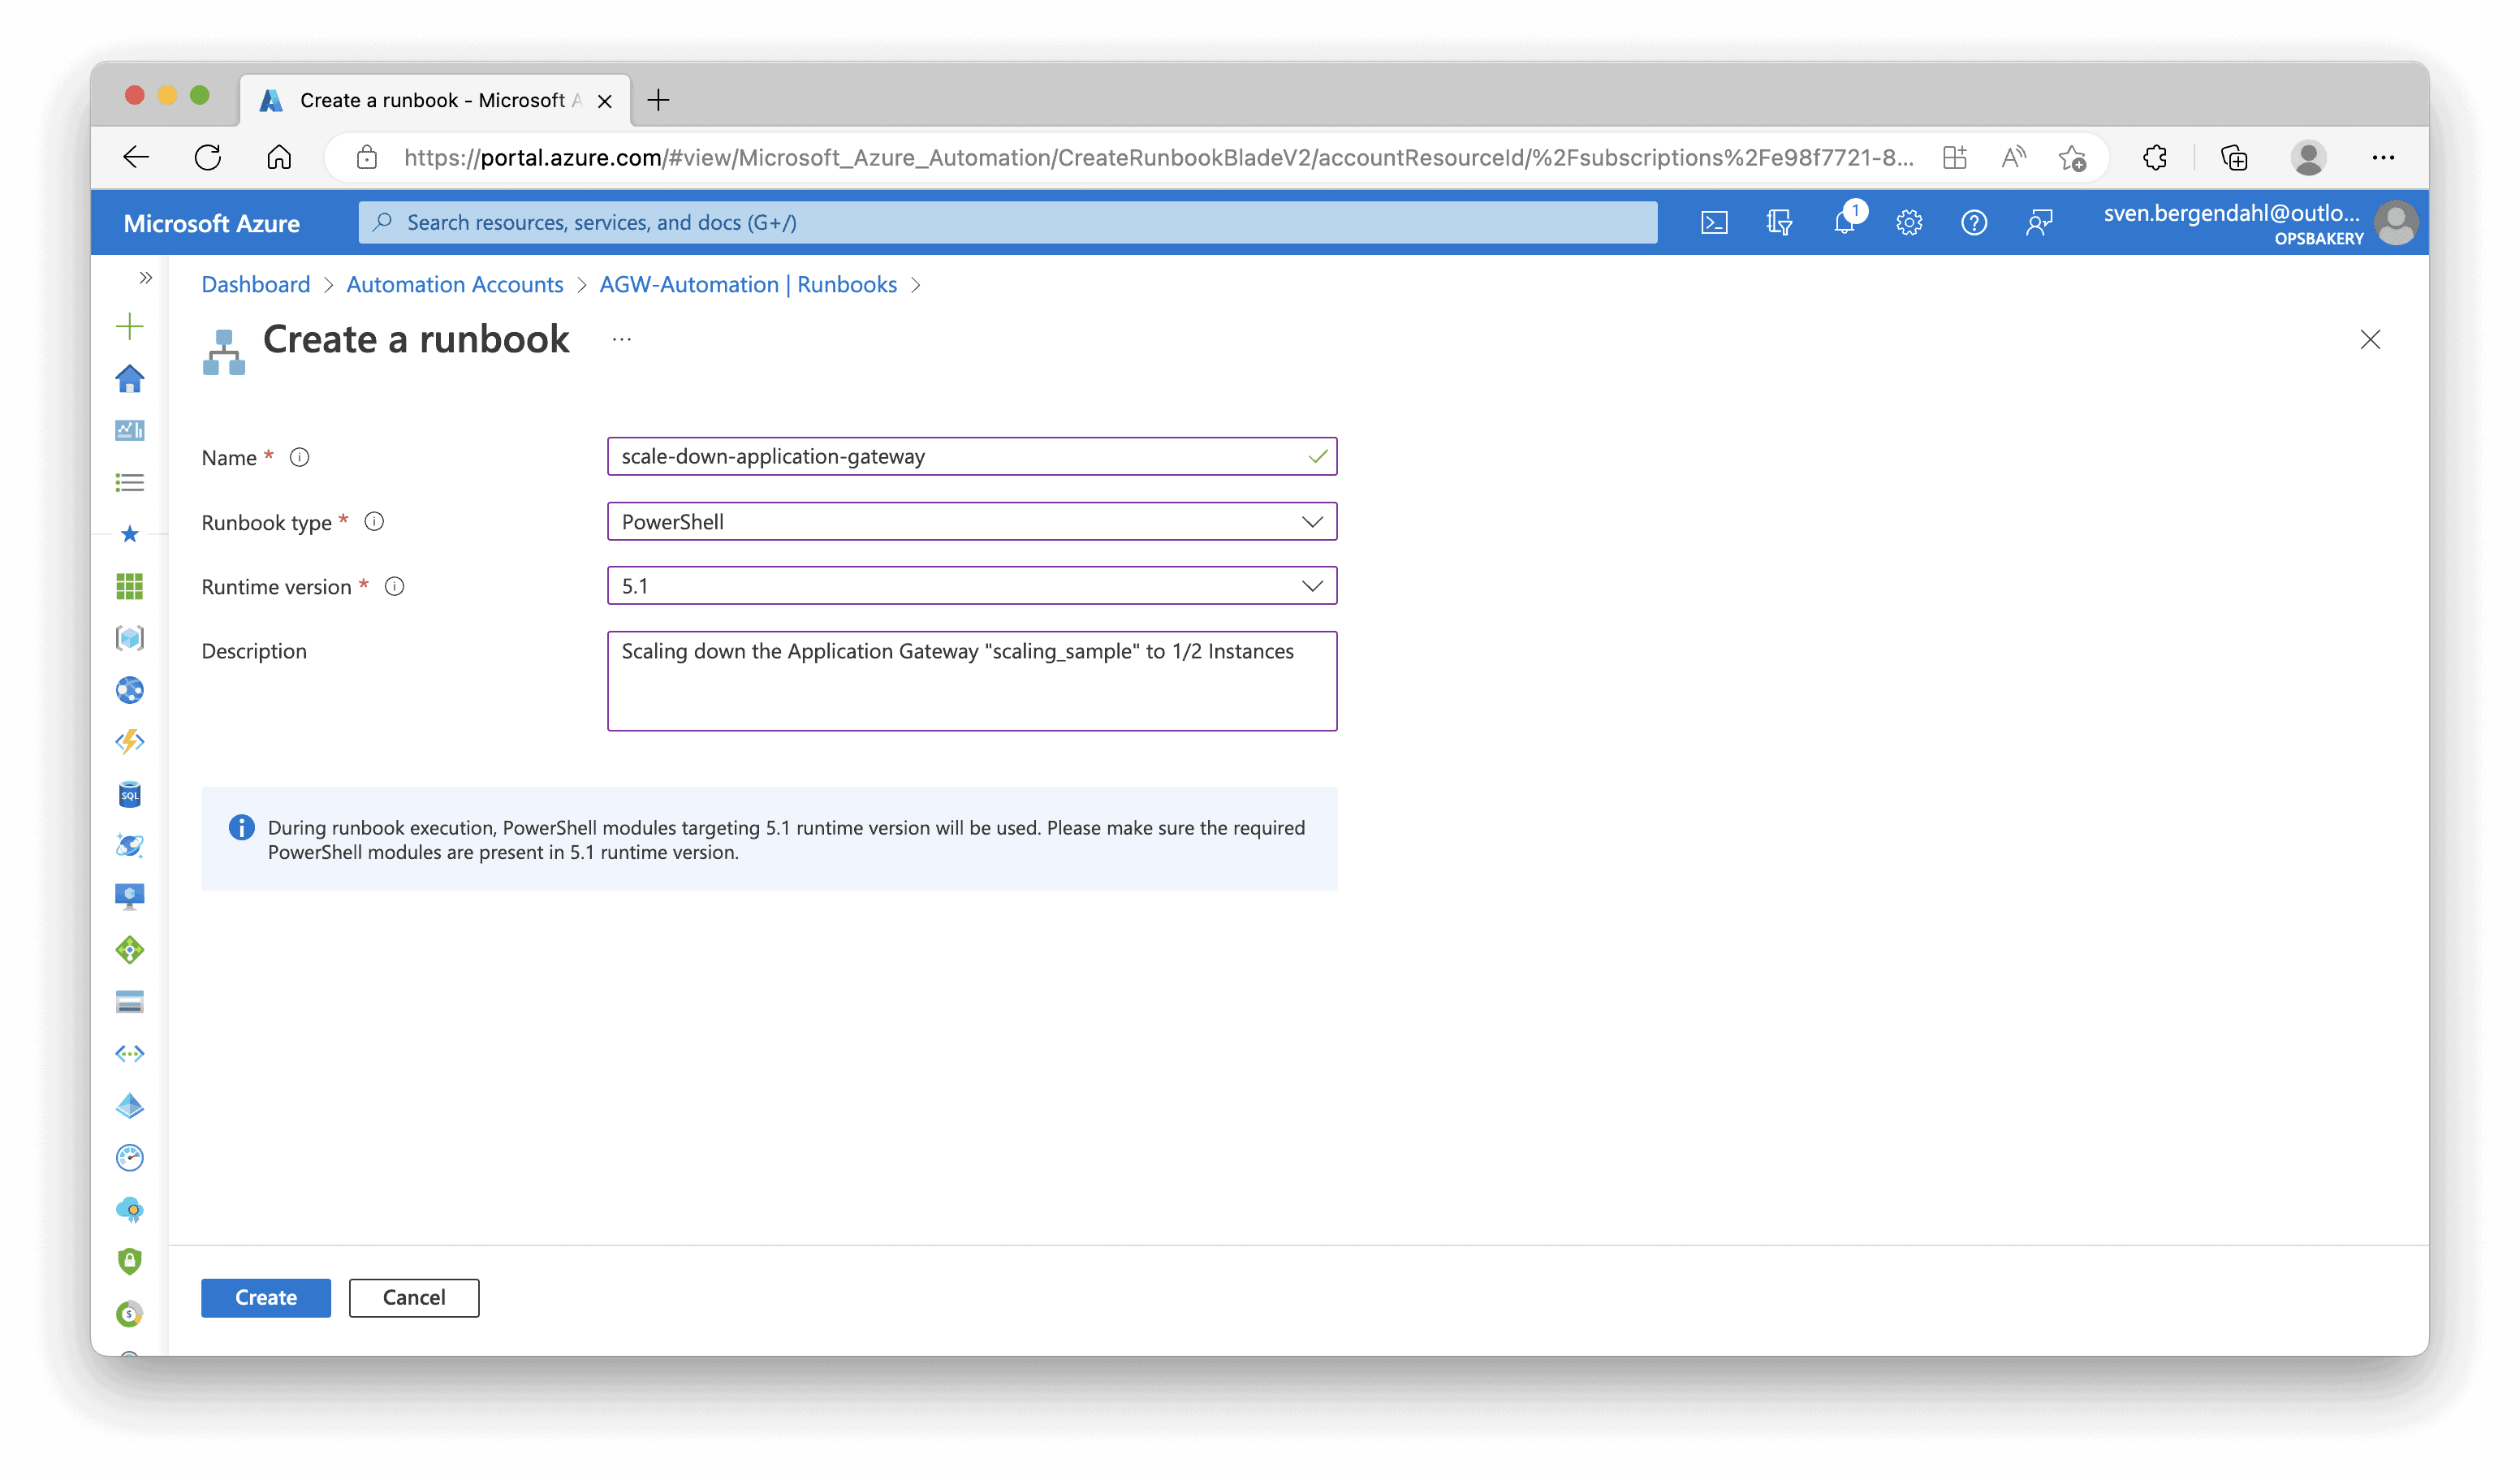
We will need two Runbooks, one to scale the Application Gateway up and one to scale it down.
After hitting “Create” you will be redirected to the script editor, paste the script below into the Runbook and click “Test pane“. After pressing Start, you can directly check if your script is working. When you’re confident, instead of clicking “Test Pane” you can also hit “Publish“. Create another Runbook, paste the code again, edit the Min and Max Capacity for the down-scaling, and click “Test Pane” or “Publish“.
Runbook Code
<#
.DESCRIPTION
A Runbook which Scales Up the Instances of an Azure Application Gateway in a Azure subscription using a Service Principal in Azure AD).

.META
Filename: Scale-AzApplicationGateway
Author : Sven Bergendahl
Version : 1.0
Date: 2023/02/13
Updated:
#>
$AzureSubscriptionId = Get-AutomationVariable -Name 'SubscriptionId'
$agwName = Get-AutomationVariable -Name 'agwName'
$ResourceGroup = Get-AutomationVariable -Name 'ResourceGroup'
$AccountID = Get-AutomationVariable -Name 'AccountID'
$min_instances = 1
$max_instances = 5

Write-Output "Connecting to Azure"
Connect-AzAccount -Identity -AccountId $AccountID

Set-AzContext -SubscriptionId $AzureSubscriptionId

$agw = Get-AzApplicationGateway -Name $agwName -ResourceGroupName $ResourceGroup
$agw = Set-AzApplicationGatewayAutoscaleConfiguration -ApplicationGateway $agw -MinCapacity $min_instances -MaxCapacity $max_instances
$agw = Set-AzApplicationGateway -ApplicationGateway $agw

$checkscale = Get-AzApplicationGatewayAutoscaleConfiguration -ApplicationGateway $agw

if ($checkscale.MinCapacity -eq $min_instances -and $checkscale.MaxCapacity -eq $max_instances)
{
    Write-Output "The scaling was successful"
}
else
{
    Write-Output "The scaling wasn't successful, please check logs"
}
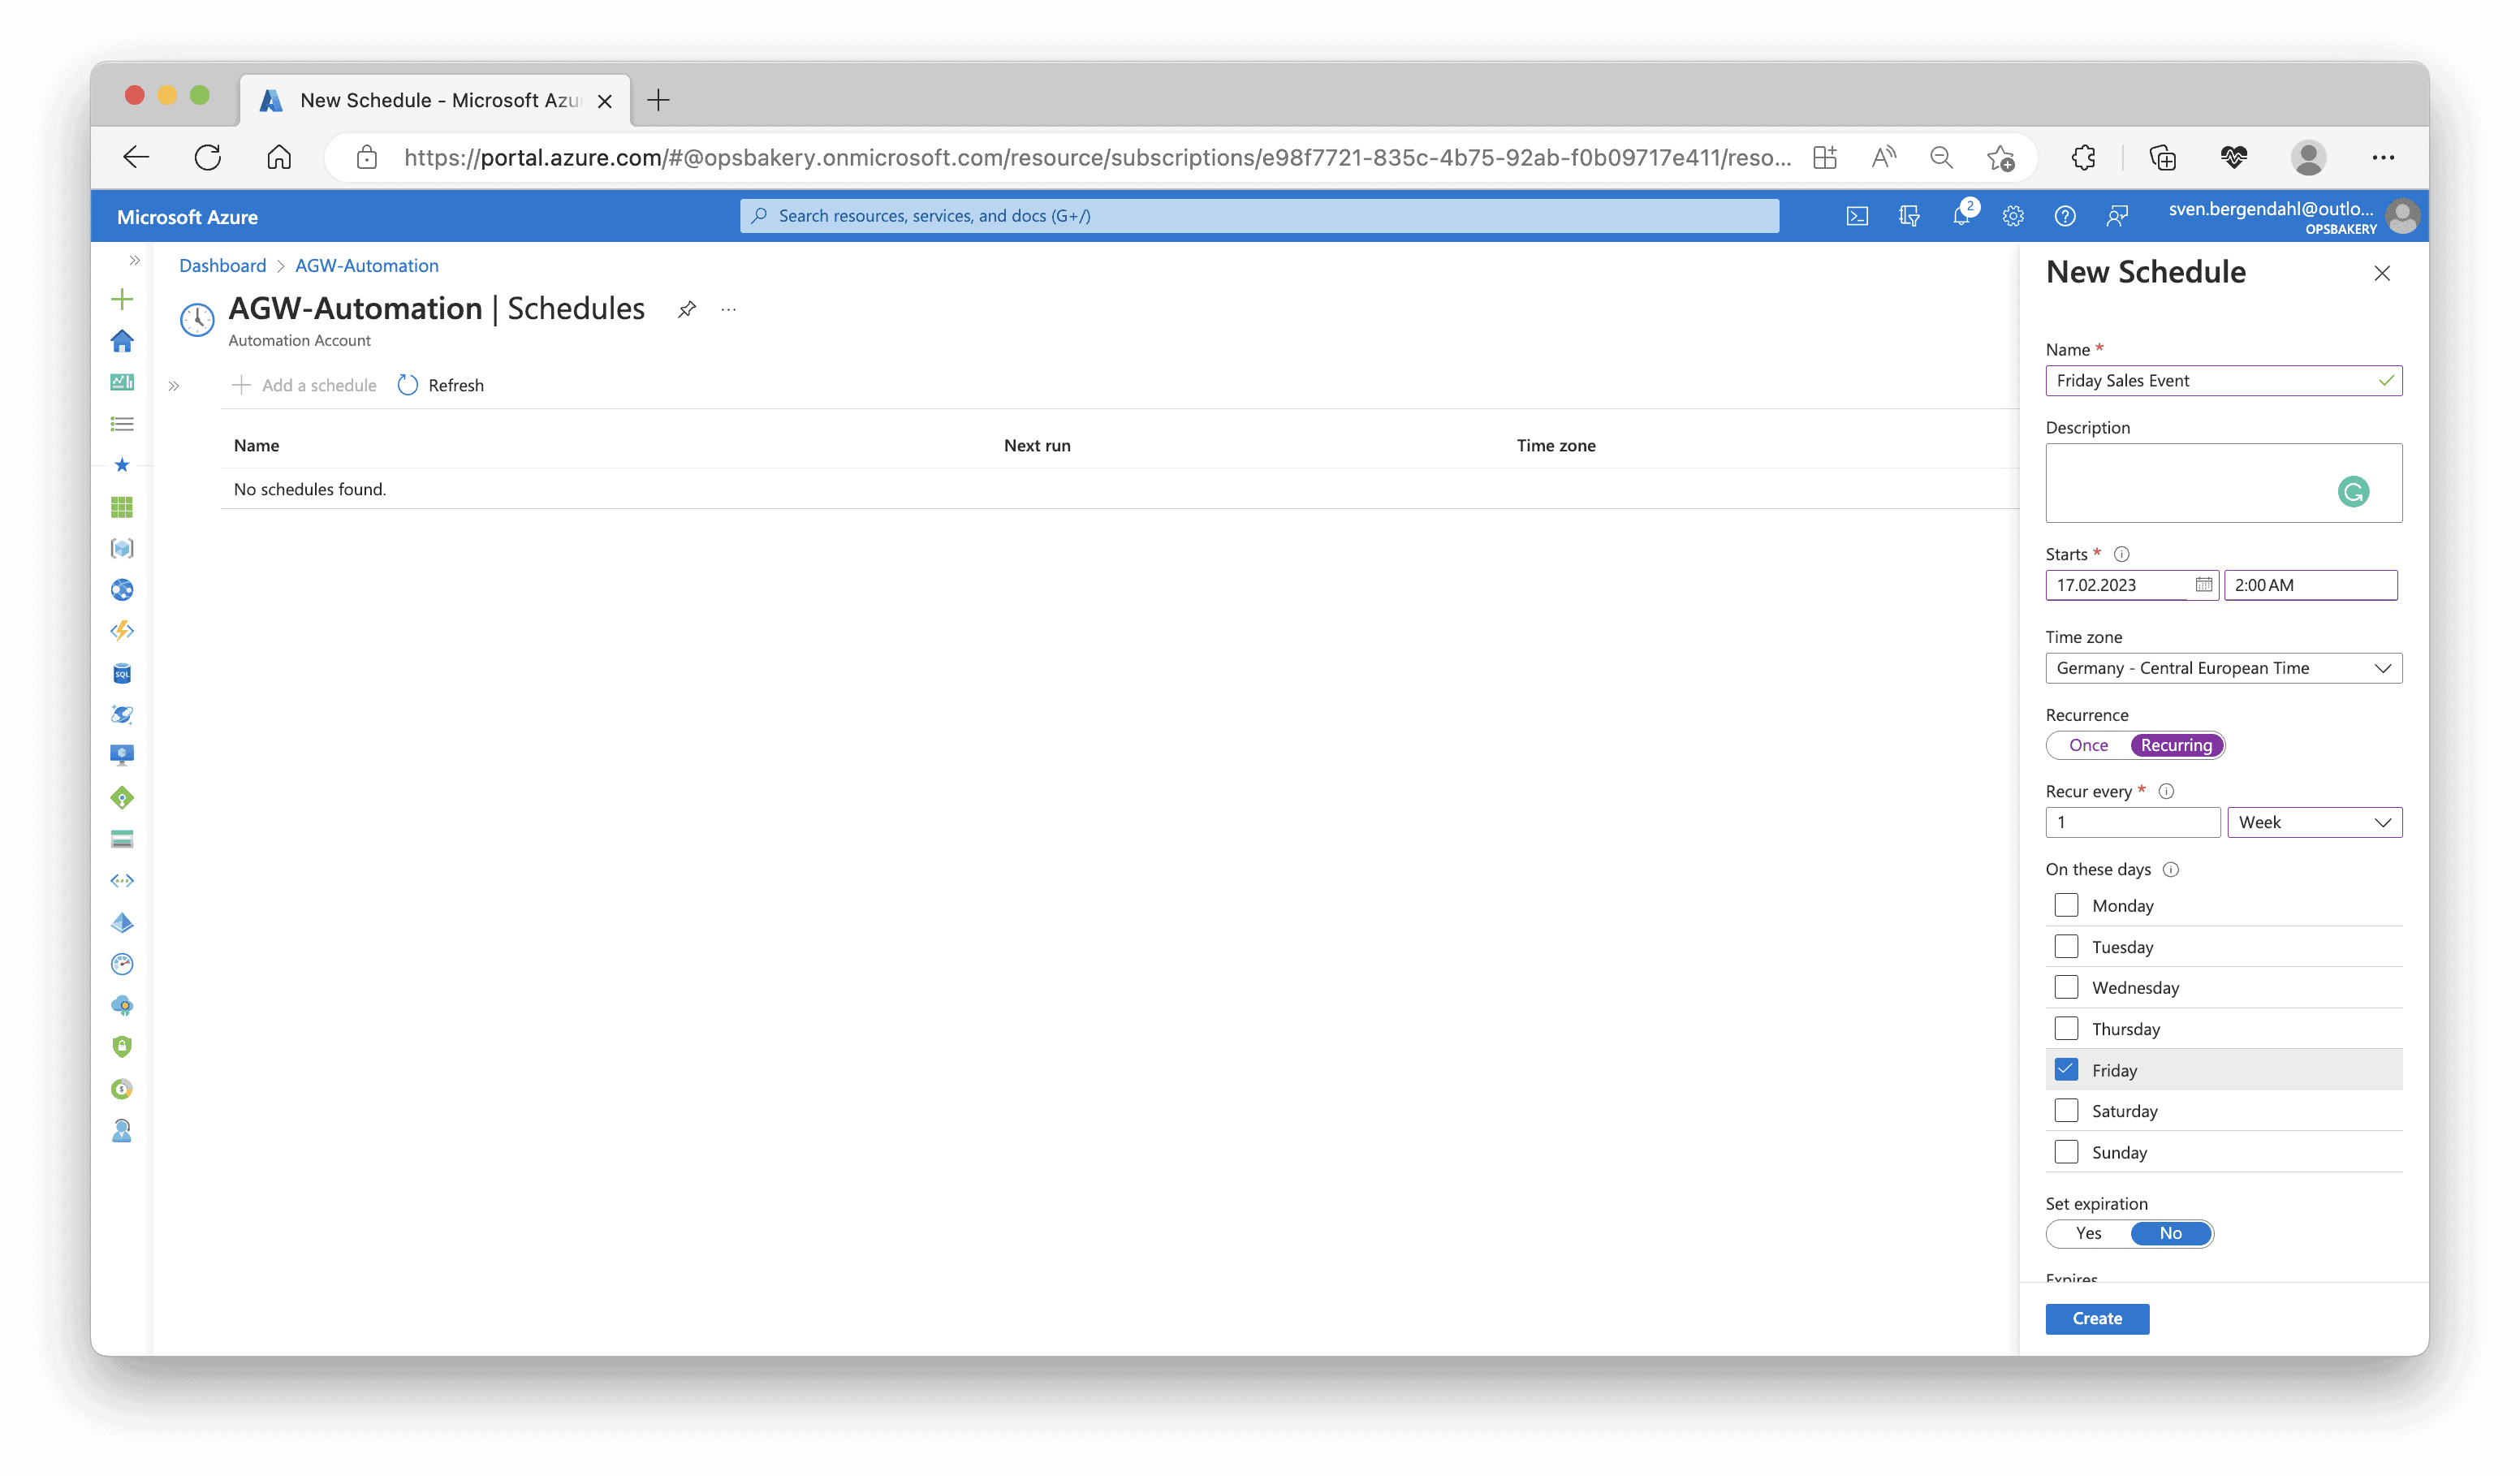
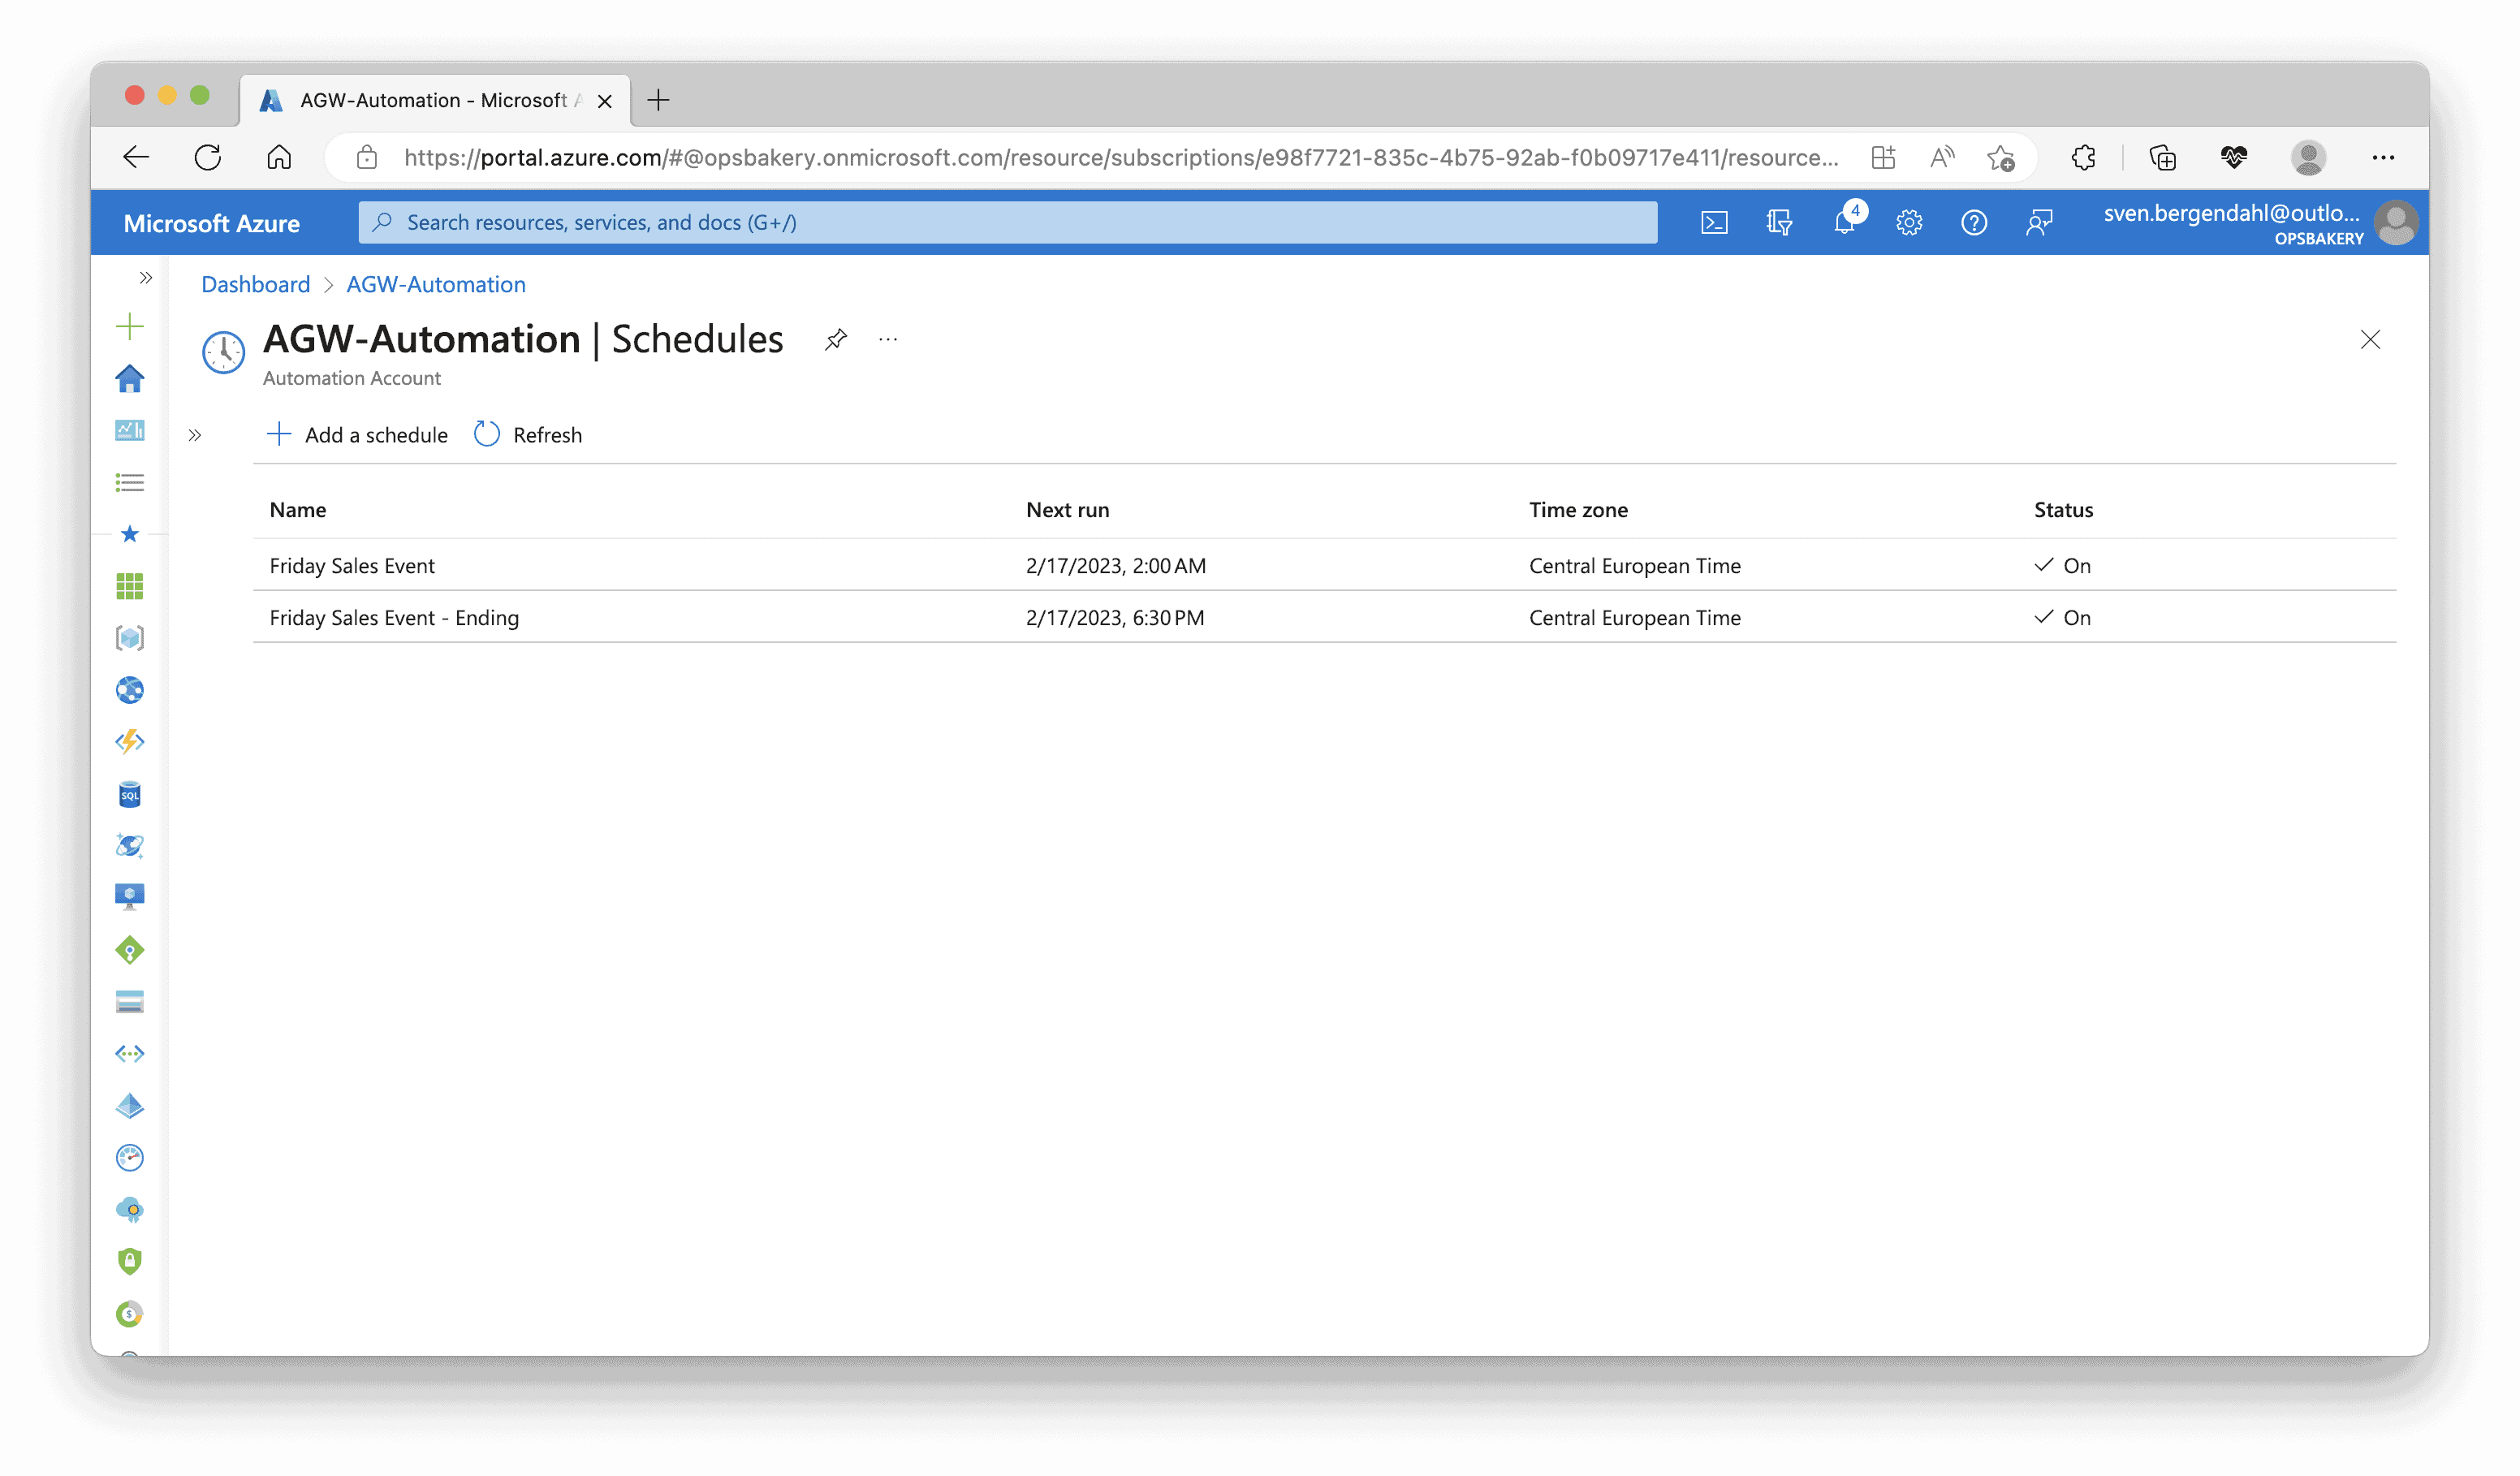
After testing both scripts running and the application Gateway’s scaling is successful, you can schedule these two Runbooks when you search for “Shared Resources” within the Automation Runbooks and look for schedule. You can set one-time or recurring schedules there.
Conclusion
In conclusion, using Azure Automation to update the minimum and maximum instances of an Azure Application Gateway can be a very effective way to ensure your web applications are always available and responsive, even during peak traffic periods.
I hope this blog post has been helpful to you. If you have any questions or feedback, please don’t hesitate to contact me.